Setting up
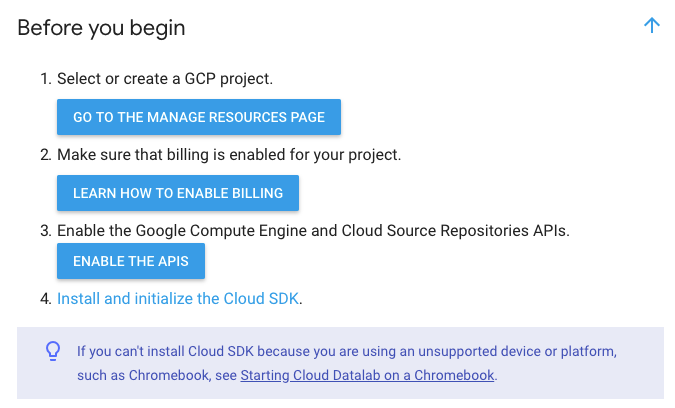
Before my most recent project, I had already recently updated datalab. However, this is a sequence you’ll need to run through if you are new to datalab or have been away for a while. (Source: datalab quickstart <- I recommend running through their checklist directly if you’re new to the GCP SDK)
In the future, I will probably just create a new GCP project for this task. If your other projects are using compute engines because there is a per-region, per-project limit for those. You might not run into that limit, but it is something to pay attention to. If you just want to run datalab through an existing GCP project, check to see what your project limits are: gcloud compute project-info describe --project myproject or gcloud compute regions describe example-region
When you’ve got the “Before” items taken care of, dig into your local CLI to make sure datalab is installed and up-to-date.
Spinning up
If you’re running smaller projects, Google Colab is a great free option to get GPU access. However, I wanted something a little more robust and reliable for what I was working on. Enter: datalab’s beta GPU backend feature. I had mine set NOT to connect upon creation because I was explicitly defining the port that I wanted each instance to run on.
datalab beta create-gpu --no-connect instance-name
Make sure to choose a zone with GPUs available. As of this publication, this link and this link should be resources for identifying regions that work for you.
I only used one GPU per instance, but you do have the option to set more accelerators for each instance. “To specify more than one K8 GPU, use the --accelerator-count number flag.” Keep in mind that there is a per-region, per-project resource limit. You can request increases, but these are reviewed on a case-by-case basis.
I specified a range of ports I did not expect to be used by other resources (8081, 8082, 8083, 8084, 8085) for my 5-engine project. Datalab defaults to port 8081, so use the --port flag:
datalab connect --port #### instance-name
It will probably kick a 255 error before connecting to your port of choice. Eventually you’ll be able to enter your passcode and enter your notebook.
Downloading from datalab
gcloud compute scp --recurse \
>>> datalab@instance-name:/mnt/disks/datalab-pd/content/path-to-dir-or-files destination-dir
Damage control
Shut down your notebook and stop the VM instance (either through the CLI or with the BIG RED STOP VM BUTTON in your browser) when you are finished running trials and downloading results. You will not be charged GPU runtime when it is stopped, but will continue to be charged storage space for the persistent disk.
Cleaning up
When you are entirely finished with your project and won’t need GPU compute power for a while, clean up.
datalab delete --delete-disk instance-name
gcloud compute firewall-rules delete datalab-network-allow-ssh
The firewall script above is from the gcp documentation, but I ended up needing to navigate to VCP Network > Firewall Rules and manually deleting two rules because the names were different.
gcloud compute networks delete datalab-network
gcloud source repos delete datalab-notebooks
With 5 VMs running GPU backends for 2-3 days, my project total was $79.12, with $69.57 of that just being for the 154.59 hours of GPU runtime. This was all covered by my GCP starter credits.
**Note: the data download section will be updated with clarifying comments ASAP. However, I wanted to make as much as possible available today. There may also be a missing firewall section. I know I had to delete them, but I think gcloud generated them automatically. However, I’d like to double-check that and note it above. Happy tinkering!